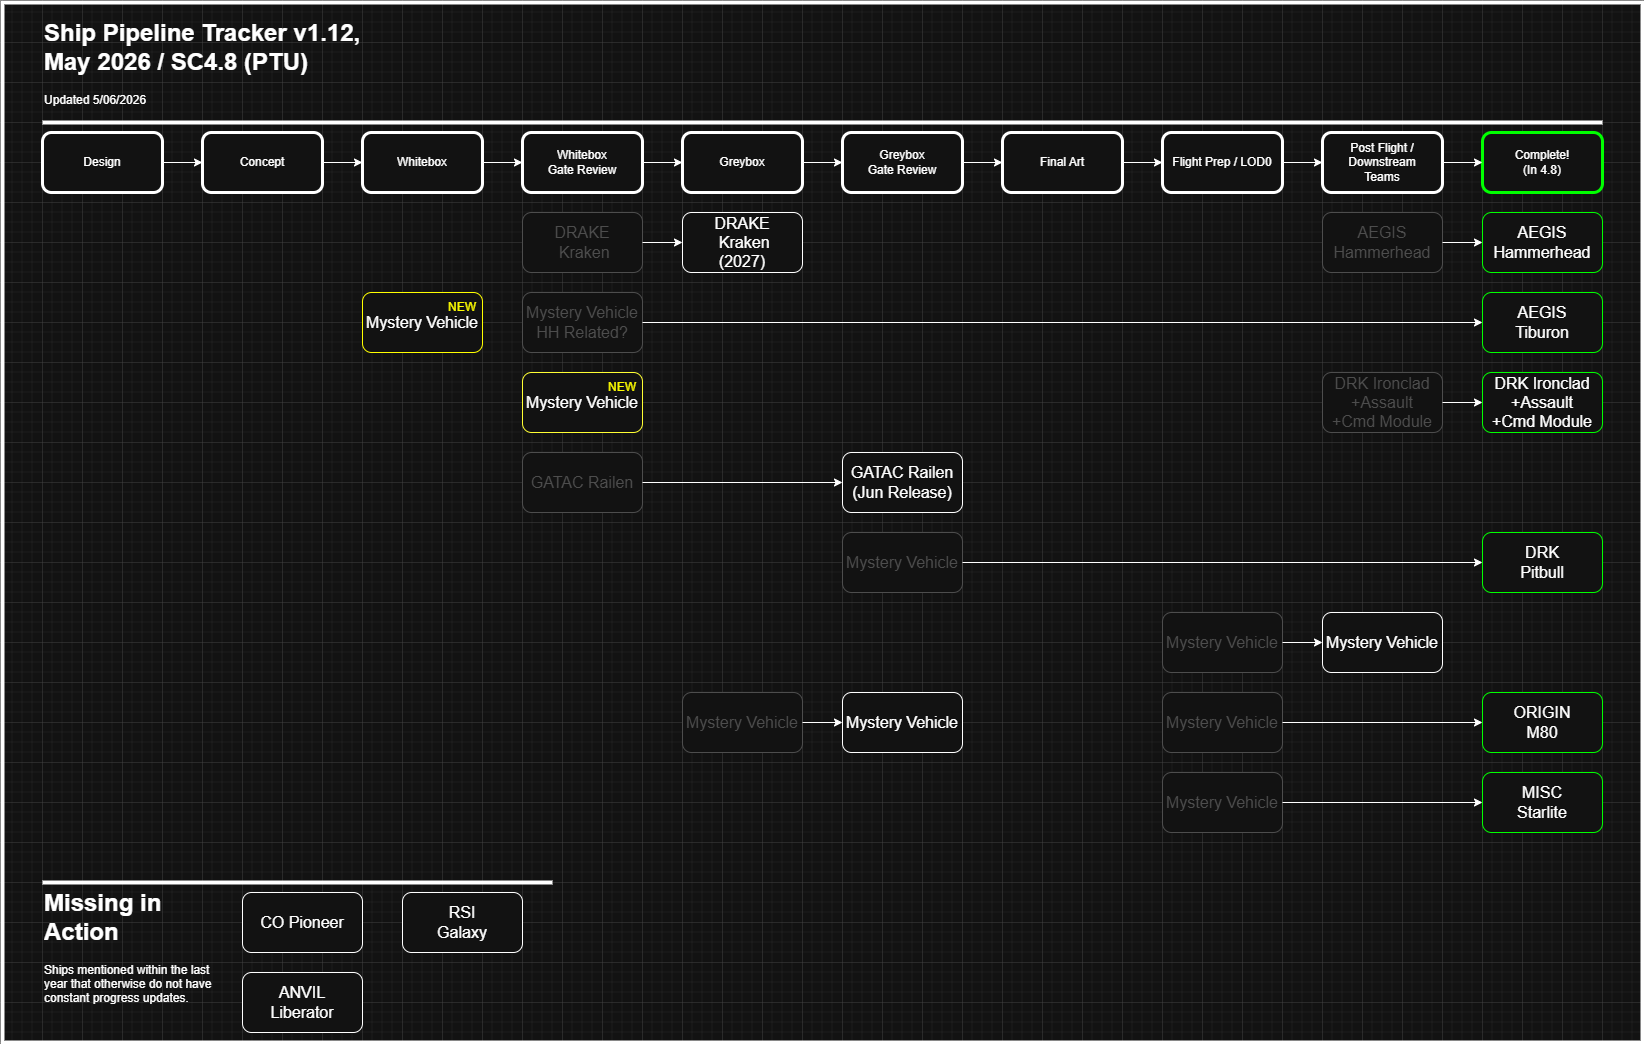
They also progressed with the Drake Kraken. Having passed whitebox last month, the ship moved into greybox, with special attention being paid to ensuring the asset is as optimized as possible.
“With a ship this size, it’s critical to ensure the time budget is being spent in the right places before it’s too late.” Ships Team
The team also worked on integrating some of the bridge station and manned-turret concept work that was highlighted in this month’s subscriber Jump Point magazine.
Art (Weapons)
Last month, the Weapons team put the finishing touches on the new Kastak Arms plasma grenade, preparing it for release. They also completed a polish pass for the UltiFlex Novia crossbow, updating some of the geometry to align it with current weapon standards and ensure it lives up to expectations.
Work also began on a new large caliber weapon set scheduled for later in the year, while material polish passes continued on numerous existing weapons.
Community
The Community team kicked April off with the publication of the March PU Monthly Report and early prep work for the Captains of Industry event.
They also announced the winners of the Stella Fortuna ‘Good Luck, Full Speed, Respawn’ video contest.
“This year’s submissions raised the bar. We were blown away by the incredible displays of skill and bravery that our community provided, and we appreciate the efforts of everyone who participated.” Community Team
Captains of Industry was the centerpiece of April’s content work. The team supported the event with a Catch-All thread and a Q&A covering the new MISC Hull B, featuring answers straight from the developers. They also updated the Cargo Guide to reflect the latest hauling vehicles, the MISC Hull B and Greycat UTV, refreshed the Salvage and Repair Guide with recent changes to the inventory, UI, and resource gathering, and updated the New Player Guide.
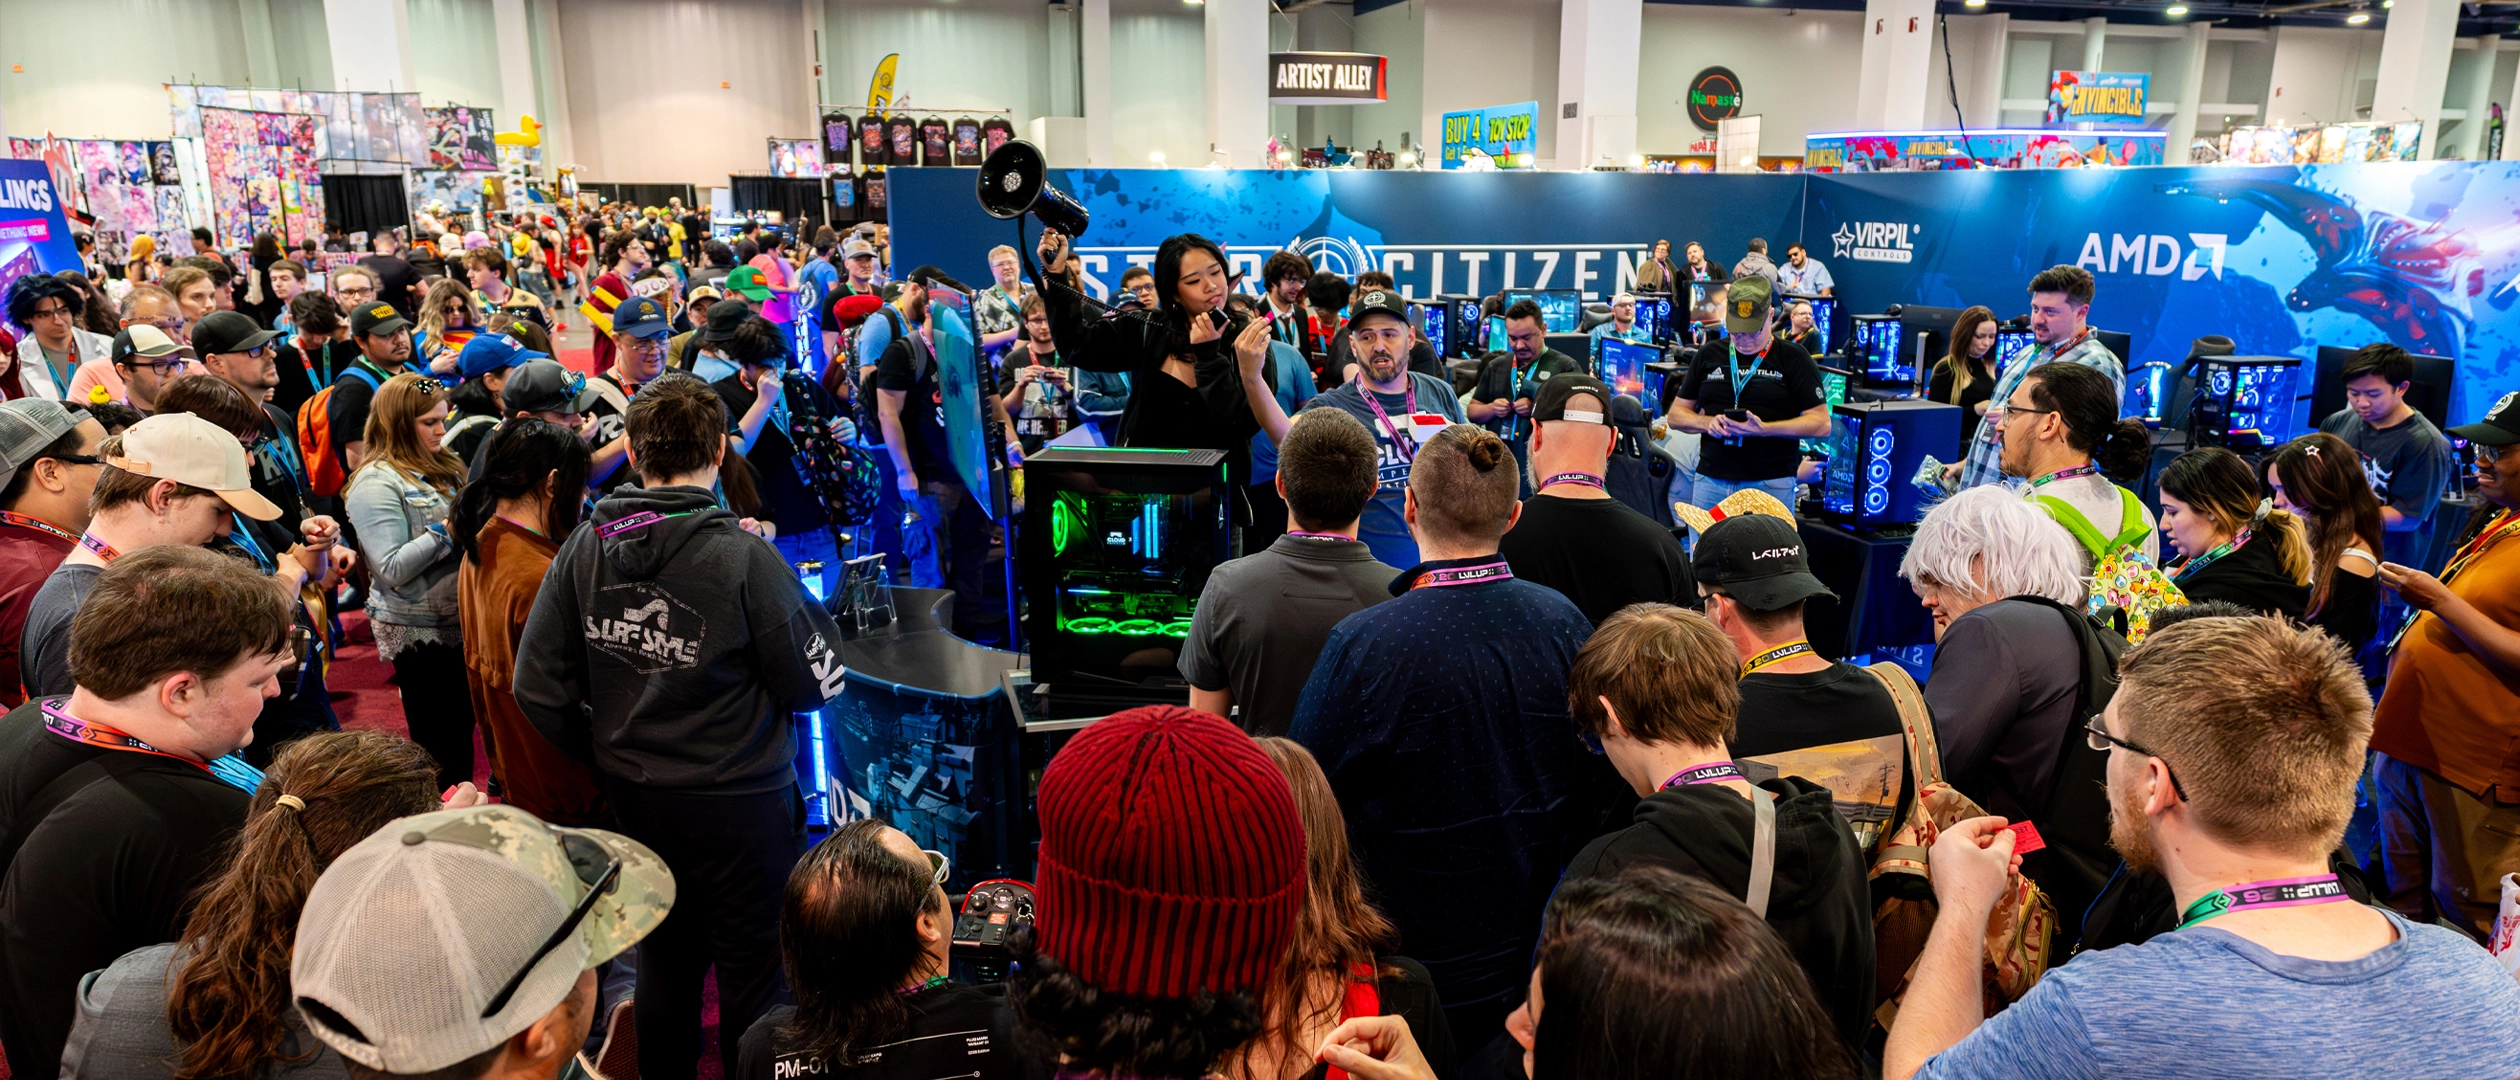
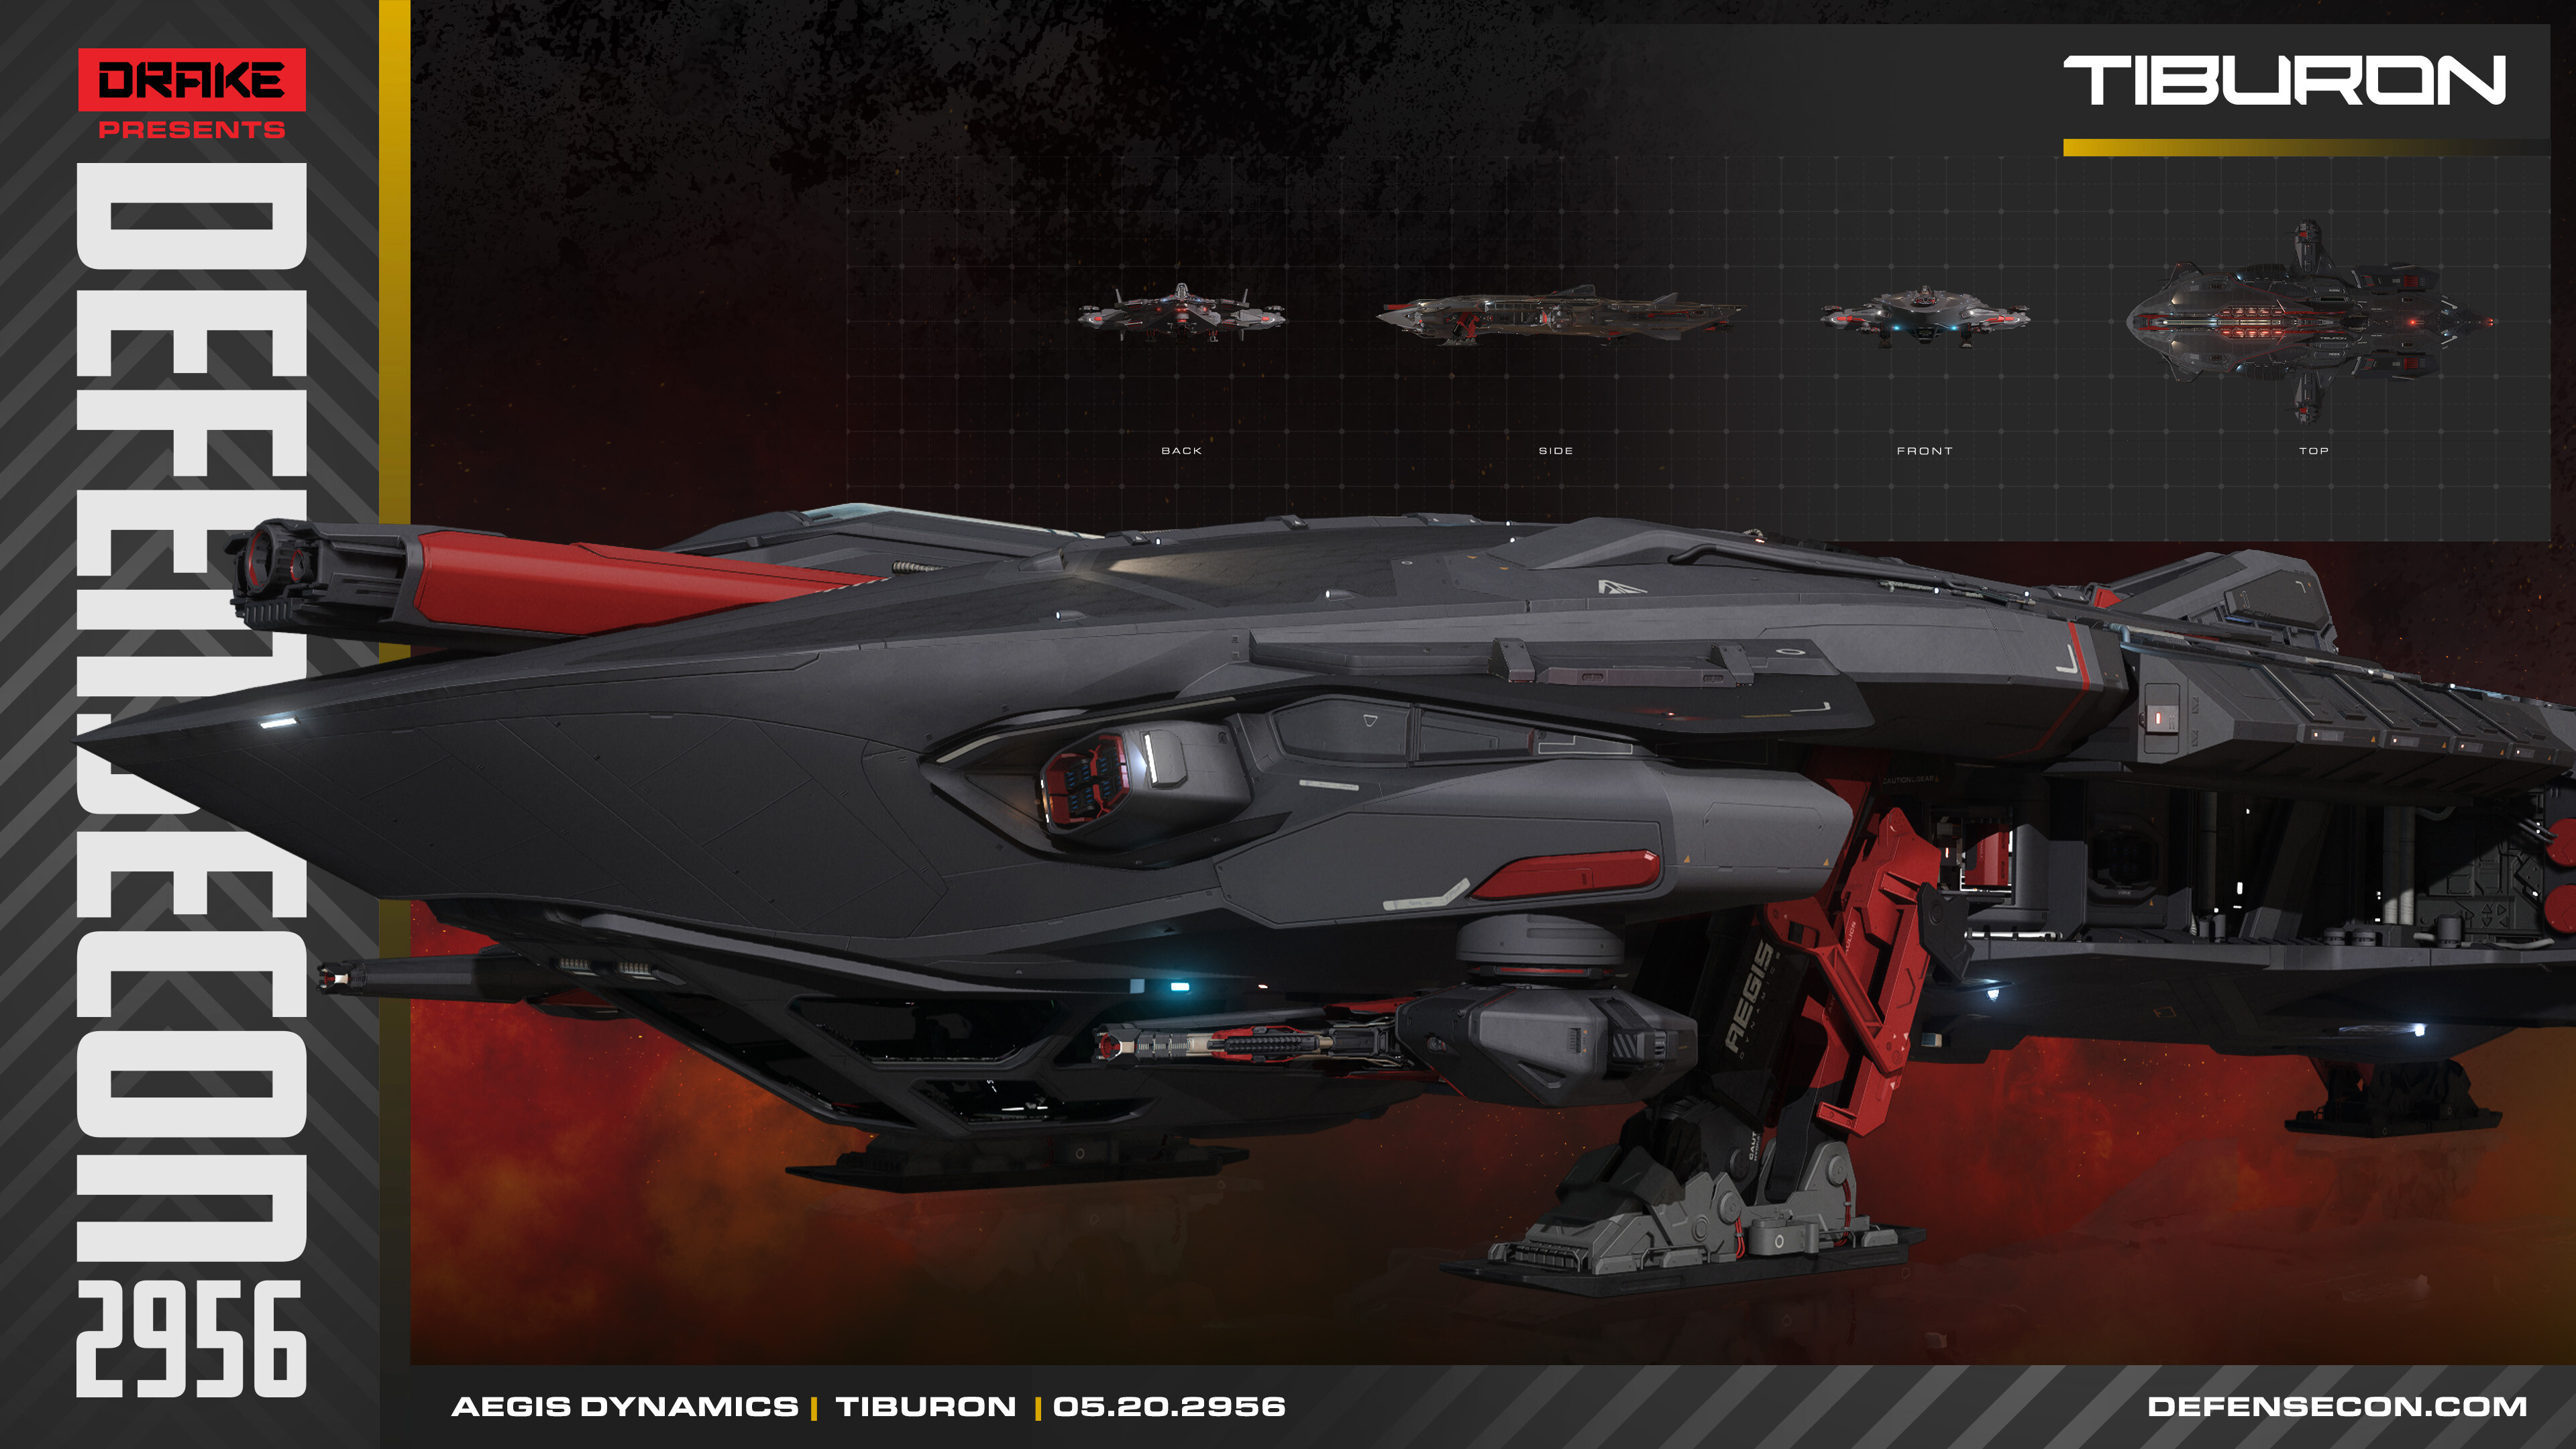
The Bar Citizen World tour continued in April, with the team attending both LVL UP EXPO in Las Vegas, USA, and Gamebox in Herning, Denmark. The festivities also included a team-up with CLX to give away a high-end gaming PC. Back home, the team published a Save the Date for DefenseCon 2956, getting the community’s calendars marked ahead of time.