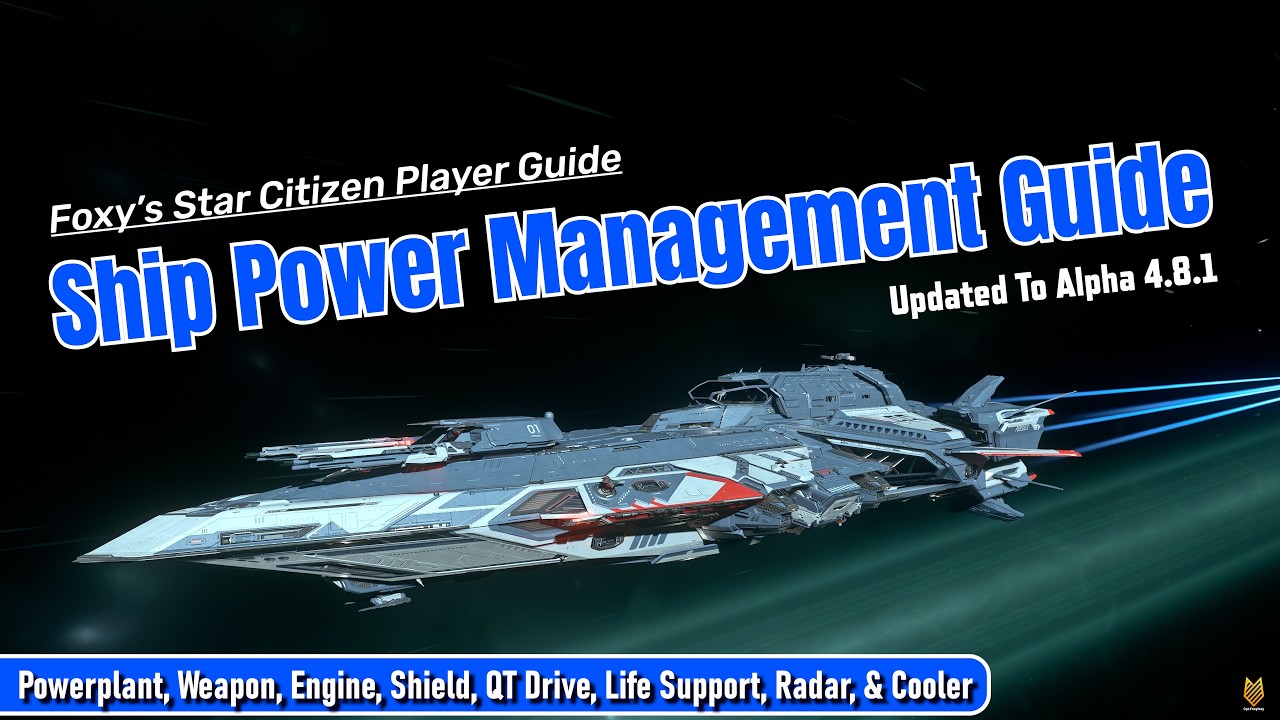
The video provides a comprehensive guide to ship power management in Star Citizen, focusing primarily on the complexities introduced in recent patches. It begins by discussing power plants, explaining the different classes available—stealth, military, industrial, competition, and civilian—and how their availability varies by size. The guide highlights key attributes such as power segment generation, EM emissions, distortion shutdown damage, cooling requirements, and component health, emphasizing the importance of protecting the power plant to avoid ship disablement. The presenter also demonstrates how to toggle power plants on and off via the diagnostic MFD and engineering terminal, noting interesting behaviors like power segment availability when running multiple power plants.
Next, the video delves into weapon power management, distinguishing between ballistic and energy weapons. Ballistic weapons require minimal power (one power pip) and do not have their firing rate or cooldown affected by power allocation, whereas energy weapons are heavily dependent on power pips for both their total capacitor and recharge rate. The presenter explains that missile systems do not require weapon power to operate, except that missiles cannot be fired in navigation mode. The guide also covers the significance of total weapon power capacity for a ship, showing how loadouts with more energy weapons demand more power segments, which can limit capacitor size and recharge rates, influencing ship and loadout choices.
Engine power allocation is explored next, with the presenter clarifying common misconceptions. Power pips to the engine do not affect strafing speed or boost duration but do impact boost recharge rate and, importantly, the ship’s maneuverability during boosted pitch, yaw, and roll movements. The video highlights the difference between strafing and maneuvering and provides examples comparing various ships to illustrate how engine power allocation affects combat performance. The presenter recommends watching a related video for deeper insight into these mechanics.
Shield power management is explained with a focus on minimum power requirements to activate shields and how increasing power allocation improves shield recharge rates but also increases cooling demands. The video stresses the need to balance shield power with cooling capacity to prevent system overheating. Quantum drive power is briefly mentioned as mostly an on/off function usable only in navigation mode, with a tip on allocating weapon power during navigation to maintain readiness for combat immediately after exiting quantum travel.
Finally, the video discusses life support, radar, and cooling systems. Life support is noted as currently buggy but essential for oxygen supply and temperature regulation. Radar power allocation affects aim assist range, with recommendations for competitive radar components to maximize performance. Cooling management is emphasized as critical to prevent overheating that can cause engine shutdowns, shield fluctuations, and system failures. The presenter demonstrates how to monitor cooling status via the engineering terminal and advises maintaining cooling power within capacity limits to ensure ship stability during combat. The video concludes by encouraging viewers to manage power allocation carefully and adapt based on their ship and loadout needs.